After Effects Transitions for Viral Short-Form Video
Master After Effects transitions for TikTok & Reels. Learn step-by-step whip pans, zooms, and glitches. Plus, get presets and export settings for viral videos.
You’ve seen the edit. Two unrelated clips slam together with a blur, a whip, or a masked reveal, and suddenly the whole video feels more expensive than it is. That’s usually the difference between a basic cut and a transition that carries momentum.
Most creators don’t need more effects. They need a better workflow for after effects transitions that fits short-form production. If you’re cloning a viral format, polishing faceless content, or turning AI-generated footage into something that feels native to TikTok or Reels, your transitions have to do two jobs at once. They need to look sharp, and they need to build fast.
After Effects has been doing this work for a long time. Adobe’s own documentation traces its transition roots back to 1993, with foundational tools like Wipe and Block Dissolve, and that evolution now sits inside a toolset that powers over 90% of Hollywood VFX and the kind of short-form editing where smooth transitions can lift retention by 20-30% according to the Adobe-linked material on After Effects transition effects. The interesting part isn’t the age of the software. It’s that the same logic behind those early wipes still shows up in today’s speed ramps, mattes, and social edits.
That’s why creators who want repeatable results should stop treating transitions like decoration. A good transition hides the seam, controls pacing, and tells the viewer where to look next.
If you spend any time studying remix culture, faceless channels, or AI-assisted short-form workflows, you’ll notice the best editors keep things modular. They build a few strong transition types, save them, then adapt them across formats. That’s a better path than collecting random presets and hoping they match the footage. For more creator workflow ideas around trend-driven production, the VidCloner blog is worth browsing.
Introduction Beyond Basic Cuts
Basic cuts work when the story carries all the energy. Short-form feeds usually ask more from the edit. The transition often becomes part of the hook, especially in reaction clips, dance edits, meme remakes, product UGC, and AI influencer videos where the viewer decides fast whether the next shot feels intentional or sloppy.
The mistake junior editors make is chasing complexity. They stack too many effects, overdo motion blur, and use transitions that call attention to themselves instead of pushing the sequence forward. Clean work usually wins. A fast whip, a controlled zoom, or a well-timed mask reveal can do more than a noisy plugin chain.
What actually makes a transition feel professional
Three things matter more than the effect name:
- Timing: The cut has to land on action, beat, or phrase.
- Direction: Motion should continue naturally across both shots.
- Restraint: If the viewer notices the technique before the message, the transition is probably too loud.
Practical rule: Build the motion first. Add texture second. Most bad transitions fail because the editor starts with the texture.
After Effects gives you a deeper level of control than most timeline-first editors. That matters when you need to shape acceleration in the graph editor, match blur to movement, or build mattes that hide AI-generated seams. The software’s older built-in transitions still matter for that reason. They’re simple, predictable, and easy to modify.
Where this matters most for short-form creators
Short-form editing isn’t one category. The transition choices change depending on the job.
| Content type | Transition style that usually works | Common mistake |
|---|---|---|
| UGC ads | Quick wipes, punch-ins, controlled blur | Overusing glitch effects |
| Faceless explainer clips | Mask reveals, luma-style fades, clean motion | Too many competing layers |
| Meme and reaction edits | Smash cuts, shake, whip pans | Uneven pacing |
| AI influencer videos | Directional transitions that hide swaps | Transitions that expose edges |
The best habit is to build a small set of transitions you can trust, then adapt them to footage, not the other way around.
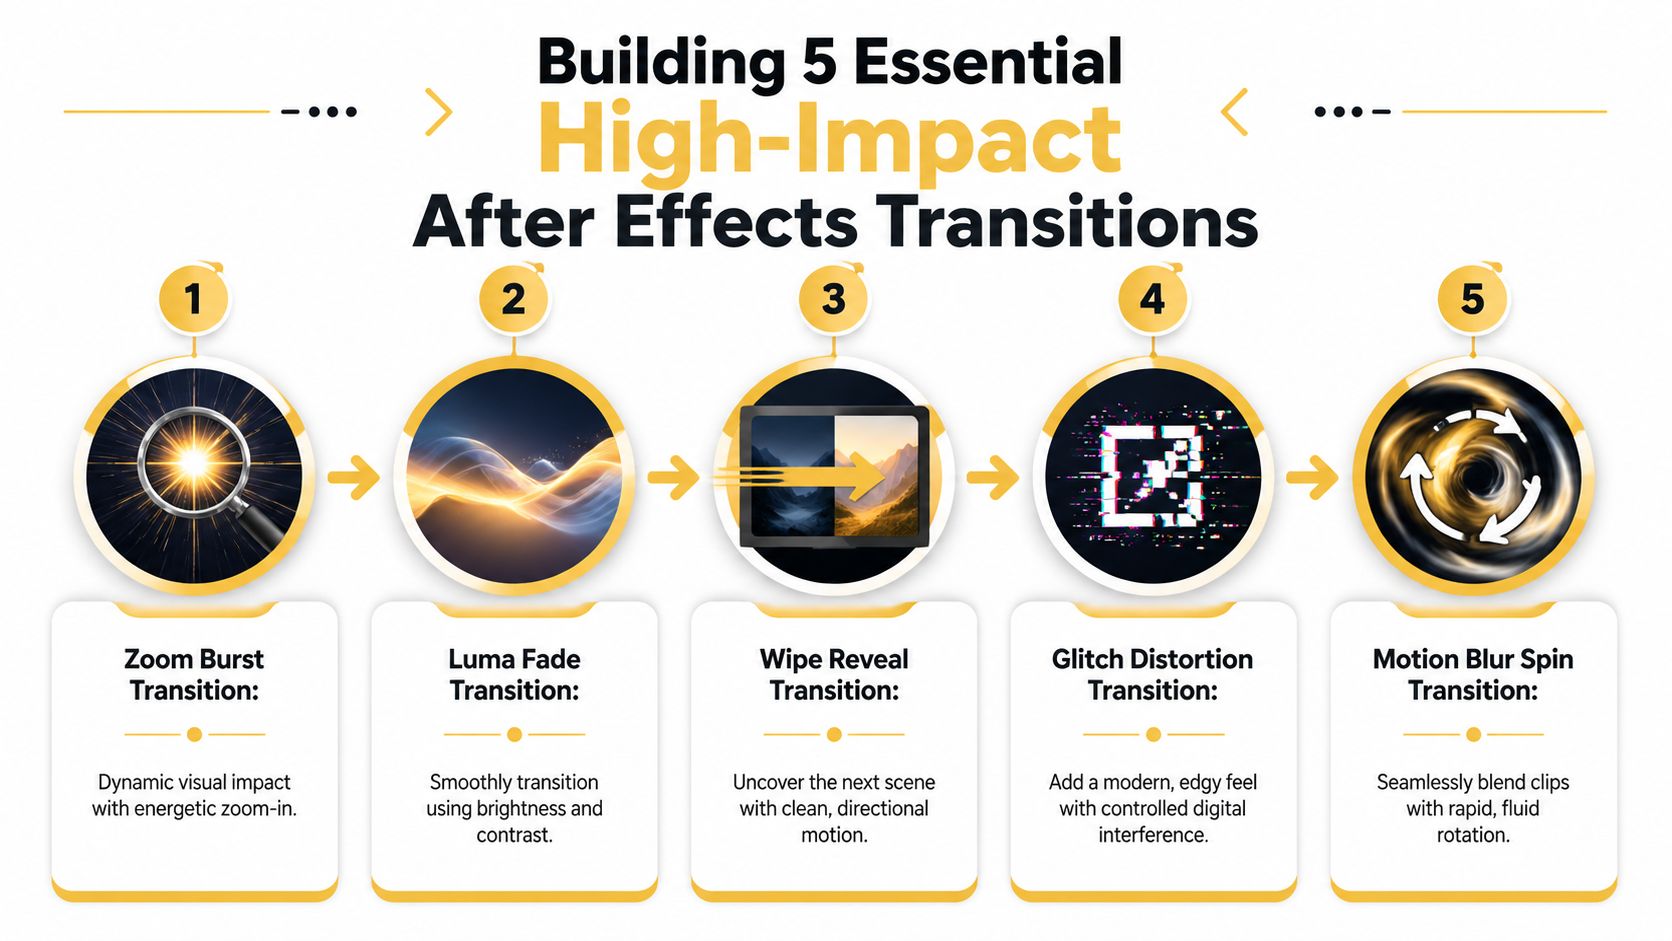
Building 5 Essential High-Impact Transitions
The fastest way to get better at after effects transitions is to stop browsing endless presets and build a handful from scratch. Once you understand the mechanics, you can remake them in any style.
Seamless whip pan with Offset
This is the one I’d tell almost any social editor to learn first. It’s fast, reusable, and forgiving on mixed footage.
The strongest documented method uses an adjustment layer, the Offset effect, and a Shift Angle animation from 0° to 360°. For best results, add CC Radial Fast Blur at 70-80% influence and curve the keyframes for fast acceleration at the cut. The tutorial benchmark attached to this method reports 95% render efficiency on 1080p timelines in the referenced workflow at this Offset transition tutorial.
Build it like this:
- Put your cut point where the transition should happen.
- Create an adjustment layer above both clips.
- Trim that layer tightly around the cut.
- Apply Offset.
- Keyframe Shift Angle from 0° to 360° over the life of the layer.
- Add CC Radial Fast Blur and keep the blur strength symmetrical across both sides of the cut.
- Open the graph editor and pull the speed curve so motion accelerates into the cut and settles quickly after.
What works: short duration, aggressive curve, matched directional movement in the source clips.
What doesn’t: linear keyframes, uneven blur values, or using it on footage with no directional logic at all.
If you edit dance-led short-form content, this kind of transition pairs well with body movement and beat hits. A lot of creators studying trend formats use references like the dance video examples collected on VidCloner’s dance page because they make timing patterns easy to spot.
If the outgoing shot moves left and the incoming shot visually “answers” that movement, the whip feels intentional. If the shots fight each other, no amount of blur will save it.
Dynamic punch-in zoom
This transition is simpler than people think. You don’t need fancy camera rigs. You need clean scale animation and disciplined blur.
Start with the outgoing clip. Add a fast scale increase right before the cut. Turn on motion blur. Ease the keyframes so the movement starts controlled and finishes hard. On the incoming clip, either continue the scale motion briefly or reverse it with a slight settle.
A solid punch-in zoom usually includes:
- Scale animation: Keep the move brief and centered on your subject.
- Motion blur: Let the blur sell speed.
- Anchor point control: Reposition if the subject isn’t in frame center.
- Optional shake: Add a tiny position bump if the transition needs impact.
This works well for reaction clips, creator commentary, and app demos where you want to force the viewer’s eye toward a face, product, or text callout.
Digital glitch without plugin overload
A lot of editors reach for glitch too early. Most of the time, they make the clip look corrupted instead of stylized.
The cleaner approach is to build a restrained digital distortion transition with native tools. Use channel separation, displacement, and abrupt opacity or position changes over a very short window. Keep it quick. Glitch should feel like an interruption, not a sequence break.
A practical build looks like this:
- Duplicate the clip.
- Offset one color channel visually with a slight position shift.
- Add a displacement source or noise-based distortion.
- Animate the effect to spike only around the cut.
- Add a single-frame or brief stutter if the footage supports it.
What works best is contrast. Put a controlled glitch between relatively clean clips. If everything in the edit is already chaotic, the glitch adds nothing.
Aggressive smash cut with blur and shake
This one is ideal for meme edits, sports-style pacing, and any short-form sequence that needs impact without elegance.
Think of it as a cut that gets help. The transition itself is still mostly a hard cut, but you prepare the eye with movement right before and right after.
Use a short stack like this:
- Add a quick directional blur before the cut.
- Keyframe a small position jolt or rotation hit.
- Cut on the strongest frame.
- Add a brief settling motion on the incoming clip.
A smash cut gets ugly fast if you over-shake it. The best versions feel deliberate. If the clip looks like someone randomly dragged sliders, it’s dead.
Clean mask reveal
This is one of the most useful transitions for faceless content, product reels, and polished brand edits. It also hides source mismatches well.
Create a shape layer or animated mask that reveals the next clip. The clean version is usually geometric. A rectangle, circle, or custom brand shape works better than something overly organic unless the concept calls for it.
Build it with:
- A top layer that acts as the reveal shape
- Matte logic so the incoming clip appears through that shape
- Slight feather only if the footage needs it
- Motion that matches the scene’s direction
This transition works because it feels designed. It’s especially useful when you need to bridge between different framing styles or hide imperfections in generated footage.
Customizing Transitions with Presets and Effects
Building from scratch teaches judgment. Saving that work as presets saves time.
After Effects became even more useful for pro transition work when CS6 introduced 32-bpc color support in 2012, and the current tutorial offerings reflect how central it is. The verified data states that over 70% of YouTube tutorials on transitions use After Effects, with techniques like Camera Lens Blur and Alpha Mattes showing up constantly in viral short-form, where those styles can lift completion rates by 15-25% according to the referenced tutorial summary at this YouTube transition resource.
Save your own presets, not just downloaded ones
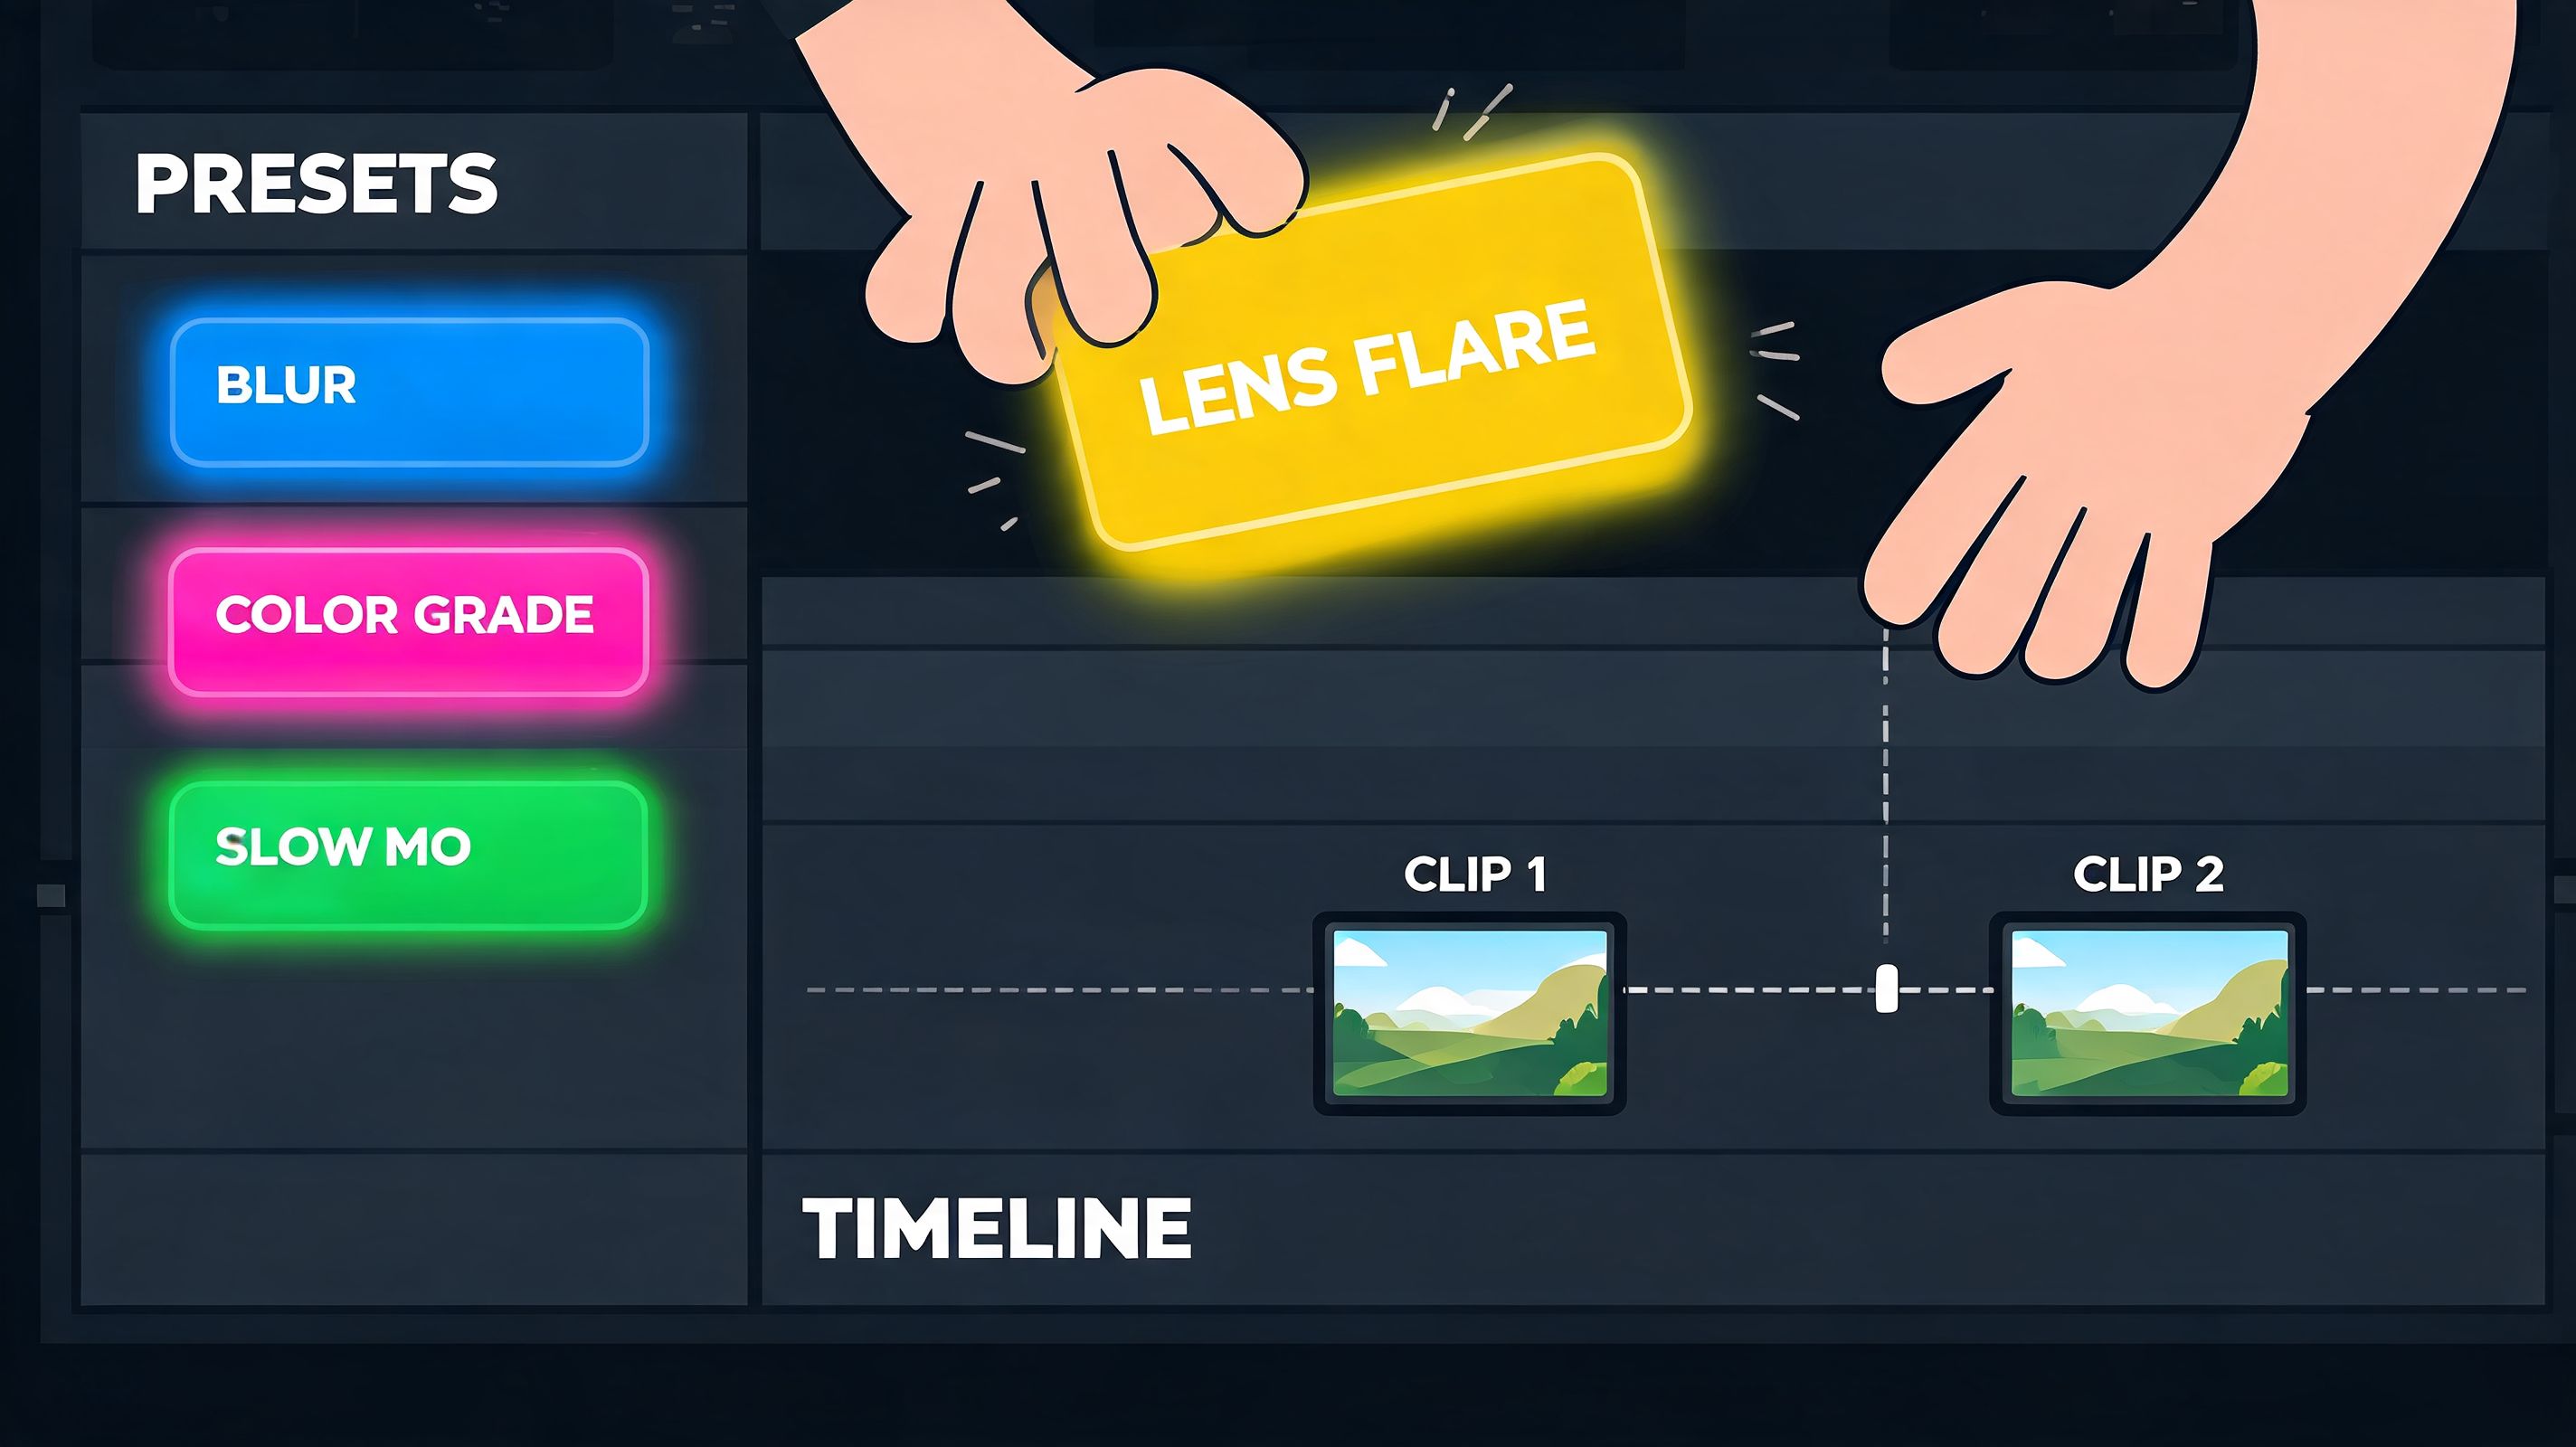
If you’ve built a whip, zoom, or matte reveal that works, save the animated properties as an Animation Preset. That gives you a repeatable starting point without locking you into one look.
Save presets at the property level when possible. Don’t save entire messy layer stacks unless you know you’ll reuse the same structure every time. Cleaner presets are easier to troubleshoot.
A strong preset library usually includes:
- Base motion presets: Whip, zoom, reveal, shake
- Texture presets: Blur, glow, posterized flicker, distortion
- Finishing presets: Color treatment, grain, edge glow
Use packs as ingredients, not final answers
Third-party transition packs can help, but only when you treat them like raw material. Most packs fail in real edits for one reason. They weren’t designed for your footage.
When you test a preset pack, check three things first:
| Check | Why it matters |
|---|---|
| Editable controls | You need to adjust timing and direction |
| Native effect dependence | Easier to maintain and lighter to render |
| Layer structure | Complicated setups slow revisions |
A preset is useful when it saves setup time. It’s not useful when it forces your footage into someone else’s edit style.
Adjustment layers are where variation happens
The quickest way to create a distinct look is to leave your core transition intact and style it on top with adjustment layers.
Try stacks like these:
- Turbulent Displace plus blur: Good for rougher transitions
- Posterize Time plus glow: Useful for stylized social edits
- Glow plus matte reveal: Helps brand or beauty visuals feel cleaner
This is how you avoid repetitive editing. Keep the motion system stable, then vary the surface treatment.
The Fast Workflow for Social Media Creators
A transition that looks good but drags your system into slideshow mode isn’t production-ready. Social creators don’t get paid for suffering through previews.
The biggest workflow mistake is building every short-form edit like it’s a full cinematic sequence. That’s backwards. For TikTok, Reels, UGC ads, and faceless content, speed is part of quality because fast iteration lets you test more hooks, more pacing choices, and more versions.
Community guidance summarized in the verified data points to two simple fixes that matter right away. Reduce preview resolution to 1/4 and make sure GPU acceleration is enabled. The same verified source also notes community benchmarks where native expressions like wiggle() delivered up to 40% faster render times than plugin-heavy alternatives on M1/M2 systems in the Boris FX transition workflow article.
Build around a lightweight master template
For daily output, keep one reusable project file with:
- Prebuilt comps: Intro, body, CTA, caption-safe frame
- Saved transition controls: Your whip, zoom, reveal, and smash setups
- Essential graphics area in mind: Keep text and faces away from risky edges
- Audio markers: Beat points or speaking rhythm cues
This matters more than people think. Opening a ready template removes half the friction from editing.
If you produce UGC-style content regularly, studying a range of UGC use cases helps clarify what kind of transition library you need. Product demos need cleaner reveals. Reaction edits can handle rougher motion.
Optimize previews before you touch final render
Editors often look for a magical export setting when the actual problem is preview discipline.
Do this first:
- Set preview resolution lower while you animate.
- Turn off heavy layers temporarily if they aren’t needed for timing.
- Pre-render repeat transitions if a sequence uses the same move several times.
- Use native effects where possible.
- Reserve heavy polish for the last pass.
Field note: If the comp won’t preview smoothly, you’ll make worse timing decisions. Smooth playback isn’t a luxury. It’s how you judge rhythm.
Later in the process, this reference is useful for seeing a broader short-form editing mindset in motion:
Choose frame rate for the edit style, not ego
A lot of creators default to higher frame rates because they sound better. That’s not always the right move.
Use the frame rate that matches your source and your transition style. Faster-feeling edits can benefit from smoother motion, but some stylized transitions look better with a slightly more graphic, less fluid feel. The key is consistency inside the project.
Export for speed and reliability
For social delivery, the goal is a clean file that uploads fast and survives platform compression. H.264 is still the practical choice for most short-form output.
Keep your export workflow boring. Boring is good. Fancy export experiments usually create more problems than they solve.
Advanced Techniques for Unique Transitions
At some point, hand-keyframing everything becomes a limit. If you want transitions that feel like yours, not just competent, you have to move beyond manual property changes.

The first leap is expressions. Even a basic wiggle() can create camera shake or imperfect motion that feels more organic than hand-placed keyframes. Used badly, expressions make edits look random. Used well, they remove stiffness.
Track mattes beat decorative wipes
A lot of editors stay stuck in simple wipe logic because it feels safe. Track mattes are where transitions start looking designed instead of assembled.
Use one layer’s shape or luminance to reveal another. That gives you far more control over branded reveals, object-based transitions, and AI footage cleanup. Mattes are especially useful when the edge between two clips needs to feel intentional.
Add depth only when it helps the cut
You don’t need full 3D scenes to get value from 3D motion. Sometimes a null-controlled camera move and a few 3D layers are enough to make a transition feel premium.
The verified 3D Match Cut methodology describes a workflow that blends 2D and 3D elements using 3D layers, a Null Object camera controller, and a Track Matte reveal. In the cited agency tests, it reached an 85% first-pass approval rate, and the same source notes that rhythmic cuts built this way can boost engagement 3x in TikTok-style pacing scenarios in the Skillshare transition mastery reference.
The best advanced transition isn’t the fanciest one. It’s the one that creates a signature feel without slowing down the rest of your edit.
Frequently Asked Questions About After Effects Transitions
What are the best after effects transitions for viral short-form video?
For most creators, start with a whip pan, punch-in zoom, smash cut with blur, clean mask reveal, and one restrained digital glitch. Those cover most short-form use cases without forcing every video into the same style.
Can I make professional after effects transitions without plugins?
Yes. Native tools go a long way. Offset, blur effects, shape layers, track mattes, motion blur, and the graph editor are enough to build professional transitions if your timing is strong.
How do I make AI-generated clips feel less stiff in After Effects?
Use directional motion, slight blur, and reveal logic that hides the seam between shots. Don’t overdo synthetic-looking effects. A simple matte reveal or whip often works better than a flashy transition when the underlying footage needs help blending.
Why do my transitions look amateur even when I copy a tutorial?
Usually because the transition doesn’t match the footage. Tutorials show mechanics. They can’t fix bad shot selection, mismatched direction, poor timing, or overlong effect duration. Shorten the move, refine the graph, and cut on action.
What’s the fastest workflow for faceless content and UGC automation?
Use a master project with reusable precomps, saved presets, and a limited transition set. Keep your system responsive while editing, and only apply finishing effects once timing is locked. That approach scales better than reinventing every video.
Should I use transitions on every cut?
No. Overuse weakens impact. Use transitions where they guide energy, hide a jump, or emphasize a beat. Let plain cuts do the rest.
Are mask reveals better than glitch transitions for brand content?
Usually, yes. Mask reveals look cleaner and give you more control over visual identity. Glitch works best when the brand tone already supports a rougher digital feel.
What’s the best transition for cloning viral TikTok formats?
The answer depends on the format, but directional transitions usually adapt best because they preserve momentum. Whips, zooms, and simple reveals are easier to remix across niches than highly stylized novelty effects.
If you want to turn trending clips into platform-ready short-form content faster, VidCloner is built for that workflow. It lets creators clone or remake viral formats with AI avatars for reactions, dances, memes, faceless videos, and UGC-style content, then bring those outputs into your editing pipeline for final polish.